
Introduction
Samsung’s Galaxy lineup ships with Bixby as the built‑in voice assistant, but many users prefer the conversational power of Google’s latest AI, Gemini. Fortunately, you don’t need to root your device or install third‑party launchers to make the switch. By adjusting a few system settings and installing the Google Gemini app, you can assign the familiar power‑button shortcut to the new assistant, enjoy faster responses, and integrate seamlessly with Google services. This guide walks you through every step—from preparing your phone and disabling Bixby, to configuring the power‑button gesture and fine‑tuning Gemini’s permissions—so you can enjoy a unified, AI‑driven experience on any Samsung phone.
Disable Bixby and Clear Its Default Status
Before Gemini can take over, Bixby must be removed from the default voice‑assistant role. Follow these actions:
- Open Settings → Apps → Bixby Voice and tap Disable. This stops the service from running in the background.
- Navigate to Settings → Apps → Default apps → Digital assistant app and select None. This clears the system’s memory of Bixby as the primary assistant.
- Optionally, uninstall any Bixby updates (Settings → Apps → Bixby Voice → Uninstall updates) to free up storage.
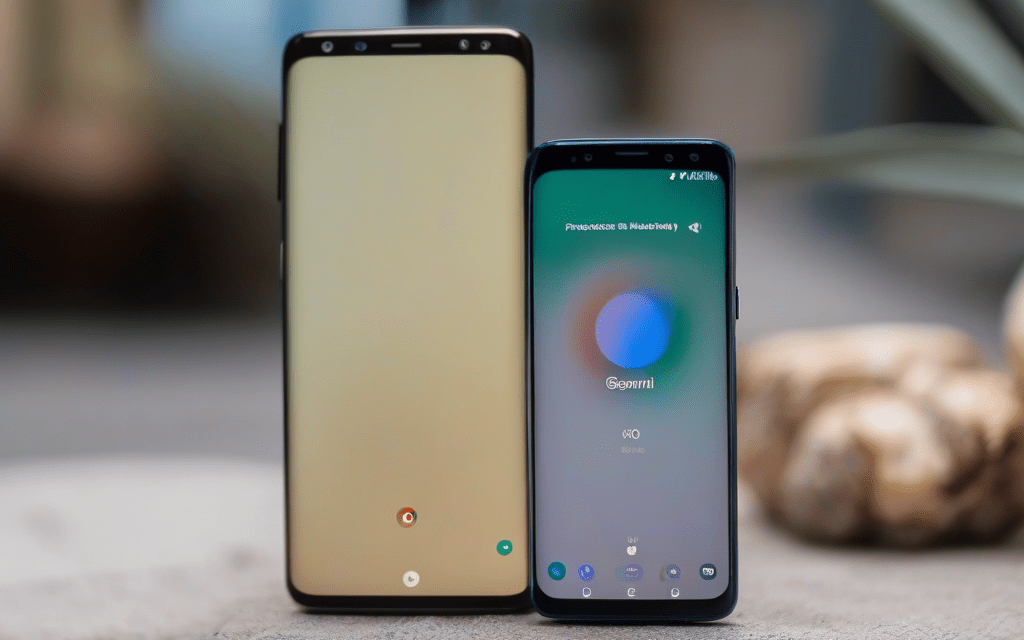
Install and Configure Google Gemini
Google Gemini is currently distributed via the Google Play Store or as an APK for early adopters. After installation:
- Open the Gemini app and complete the initial sign‑in with your Google account.
- Grant the required permissions: microphone, location, and contacts. These are essential for contextual queries.
- In the app’s Settings menu, enable “Activate with Power Button”. This tells Gemini to listen for the long‑press gesture.
- Test the assistant by holding the power button for two seconds; you should hear Gemini’s welcome prompt.
Reassign the Power‑Button Shortcut
Samsung devices allow you to customize the long‑press action of the power button:
- Go to Settings → Advanced features → Side key.
- Under Press and hold power button, select “Launch Google Assistant”. Since Gemini registers itself as the default Google Assistant, this choice will automatically launch Gemini.
- If the option is not visible, enable “Use Google Assistant” in Settings → Google → Settings for Google apps → Google Assistant first, then repeat the side‑key configuration.
After these steps, a long press of the power button will invoke Gemini instead of Bixby, giving you instant access to the newest conversational AI.
Fine‑Tune Gemini for a Seamless Samsung Experience
To get the most out of Gemini on a Samsung phone, adjust a few additional settings:
- Voice Match: Teach Gemini your voice by enabling “Hey Gemini” in the app’s settings. This removes the need for the power‑button gesture for hands‑free use.
- Integration with Samsung Apps: Grant Gemini permission to access Samsung Calendar, Messages, and Gallery. This lets the assistant schedule events, read texts, or find photos without extra steps.
- Battery Optimization: Exclude Gemini from battery‑saving restrictions (Settings → Battery → App power management → Unrestricted apps) to ensure it responds instantly.
- Privacy Controls: Review the data Gemini stores in the Google Account dashboard and adjust retention periods to match your comfort level.
Conclusion
Replacing Bixby with Google Gemini on a Samsung Galaxy phone is a straightforward process that unlocks a more powerful, context‑aware voice assistant without sacrificing the familiar power‑button shortcut. By disabling Bixby, installing Gemini, reassigning the side‑key action, and fine‑tuning permissions, you create a seamless bridge between Samsung’s hardware and Google’s cutting‑edge AI. The result is faster, more accurate responses, deeper integration with Google services, and a personalized voice experience that feels native to your device. Follow the steps outlined above, and you’ll enjoy the best of both worlds: Samsung’s premium design paired with Gemini’s next‑generation intelligence.