
Introduction
When you’re planning a wedding or a special celebration, the little details often make the biggest impression. One of those details is the place card – a simple, elegant tool that guides each guest to the correct table while adding a personal touch to the décor. Personalized place cards featuring guest names and table numbers not only streamline seating but also show that you’ve taken the time to make every attendee feel welcomed. In this guide we’ll walk you through the entire process, from selecting the right materials and gathering accurate guest information to designing, printing, and presenting your cards with flair. Follow these steps and turn a practical necessity into a memorable element of your event.
Planning Your Design and Materials
Before you cut, print, or write anything, decide on a style that matches your event’s theme. Consider the following factors:
- Theme & color palette – Choose paper, cardstock, or acrylic that echoes your wedding colors.
- Durability – For outdoor or long‑duration events, opt for waterproof or thick cardstock.
- Size & shape – Classic 3×5 in. rectangles work well, but circles, fans, or mini‑elegant frames add uniqueness.
- Printing method – Decide between home‑printer, professional print shop, or hand‑lettered calligraphy.
Creating a mood board with fabric swatches, sample fonts, and sample cards helps you visualize the final look and ensures consistency across all seating elements.
Gathering Guest Information and Assigning Tables
Accurate data is the backbone of a smooth seating plan. Follow these steps to keep everything organized:
- Compile a master guest list in a spreadsheet, including full names, RSVP status, and any special requirements.
- Use a seating chart software or a simple grid to allocate guests to tables, keeping relationships and accessibility in mind.
- Assign a unique table number or name (e.g., “Garden Table” or “Table 7”) and record it next to each guest’s name.
- Double‑check for spelling errors; a misspelled name can feel impersonal.
Export the final list as a CSV or PDF; this file will feed directly into your design template, reducing manual entry and minimizing mistakes.
Creating the Place Cards – DIY Methods
With design concepts and data in hand, you can produce the cards using one of three popular DIY approaches:
- Digital printing – Upload your template to an online service (e.g., Vistaprint, Moo). Choose finish options like matte, glossy, or foil stamping for a polished look.
- Home printer – Use high‑quality cardstock (≥ 110 lb). Set your printer to “best quality” and print a test page first. Cut the cards with a paper trimmer for clean edges.
- Hand‑crafted – Write names with calligraphy pens or use stamped lettering. Pair with decorative elements such as ribbons, dried flowers, or wax seals for a tactile, artisanal feel.
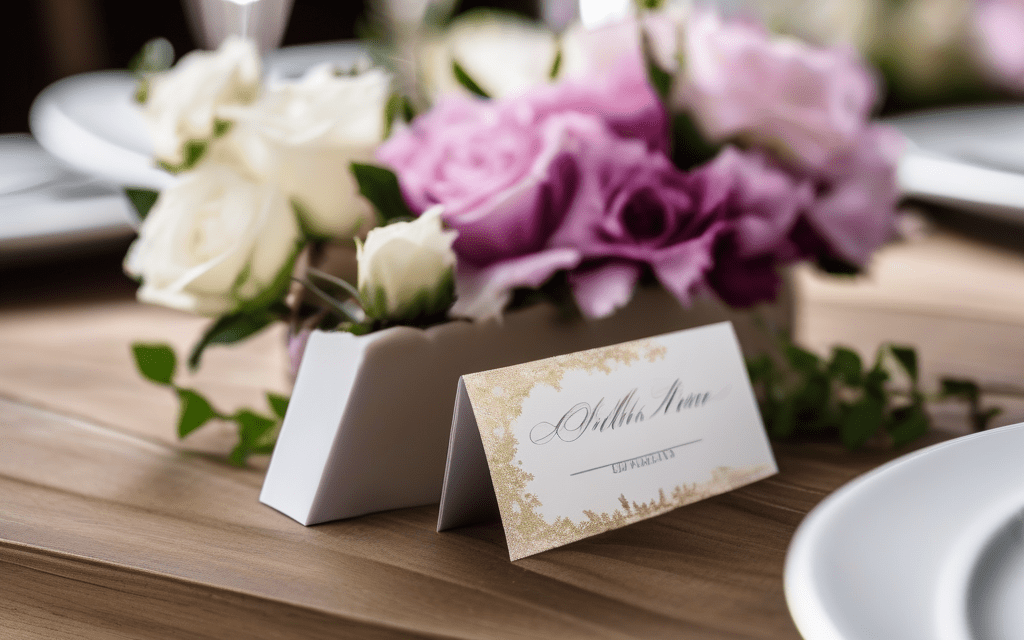
Regardless of method, keep the layout consistent: guest name in a larger, bold font, followed by the table identifier in a smaller, complementary style. Leave a small margin for any embellishments you plan to add later.
Finishing Touches and Presentation
The final presentation turns functional cards into decorative accents. Consider these finishing ideas:
- Attach a mini‑clip or butterfly clip to each card, allowing guests to pin them to their plates without slipping.
- Place cards in a decorative holder or on a mirrored tray at the entrance for an organized, eye‑catching display.
- Use a light dusting of glitter or a subtle gold leaf accent on the corners for extra sparkle.
- Coordinate the cards with other table‑setting elements—napkins, charger plates, and centerpieces—to create a cohesive visual story.
Before the event, do a quick walkthrough: ensure each table has the correct number of cards, verify spelling once more, and confirm that the cards sit upright and are easily visible from the guest’s perspective.
Conclusion
Personalized place cards are more than a logistical tool; they are a subtle yet powerful way to convey hospitality and style. By thoughtfully selecting materials, meticulously organizing guest data, and employing a design method that fits your skill set, you can produce cards that guide guests seamlessly while enhancing the overall aesthetic of your celebration. Adding finishing touches—such as elegant clips, coordinated holders, or delicate embellishments—elevates the cards from functional to decorative, ensuring they complement the broader décor. With the steps outlined above, you’ll be equipped to create beautiful, custom place cards that leave a lasting impression and keep your event running smoothly from the first seat to the final toast.