
Introduction
In today’s digital world a single inbox often has to juggle personal, professional, and promotional correspondence. Gmail offers a powerful yet under‑used feature—email aliases—that lets you generate extra addresses without creating new accounts. By simply adding a “+tag” or configuring a separate “send‑as” address, you can filter, organize, and even reply from multiple identities while keeping everything under one roof. This article walks you through the benefits of Gmail aliases, explains how they work behind the scenes, and provides a clear, step‑by‑step tutorial for setting one up and sending mail on its behalf. Follow along to turn your single Gmail address into a flexible communication hub. You’ll also discover how to automate filtering, protect your primary address from spam, and maintain a professional appearance when contacting clients or collaborators.
Why Use Gmail Aliases
Aliases give you the illusion of multiple email accounts while you actually manage only one inbox. This means you can:
- Separate streams – Use +shopping, +newsletters, or +work tags to instantly recognize the purpose of incoming mail.
- Protect privacy – Share a disposable address with a website; if it starts sending spam, simply delete the filter.
- Maintain professionalism – Create a dedicated “send‑as” address (e.g., [email protected]) that appears to recipients while still routing through Gmail.
Because all messages converge in the same mailbox, you avoid the hassle of checking several accounts, and you retain Google’s powerful search and labeling tools for every alias.
Understanding Gmail’s Alias Mechanics
Gmail supports two main types of aliases:
- Plus‑addressing – Append
+keywordbefore the@gmail.comdomain (e.g., [email protected]). Gmail ignores everything after the plus sign when delivering, but the full address remains visible to senders. - Send‑as aliases – Add a completely different email address (your own domain or another Gmail account) in Settings → “Accounts and Import”. Gmail will treat it as a separate identity for both receiving (via forwarding) and sending.
The key difference is that plus‑addressing works automatically, while send‑as aliases require verification and configuration of SMTP settings. Both methods rely on Gmail’s internal routing, so you never need additional servers.
Step‑by‑Step Guide to Creating an Alias
Creating a plus‑address is instant:
- Compose the address you want, such as [email protected].
- Give it to the sender or use it when signing up for a service.
- All incoming mail will land in your primary inbox, ready for filtering.
Setting up a send‑as alias involves a few more clicks:
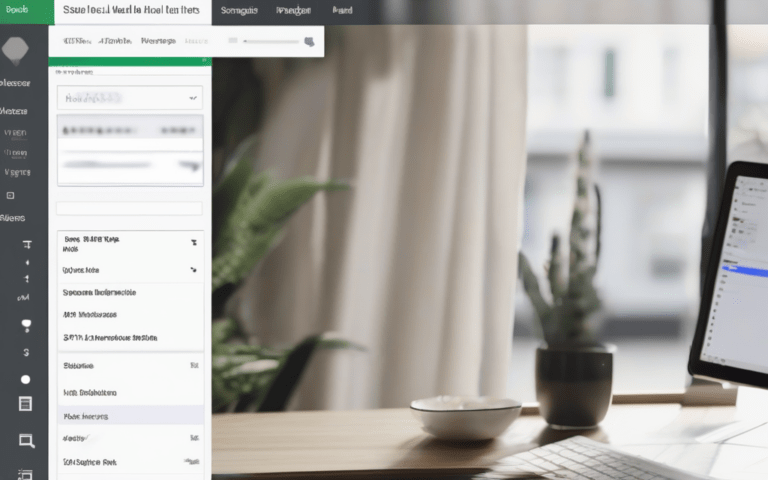
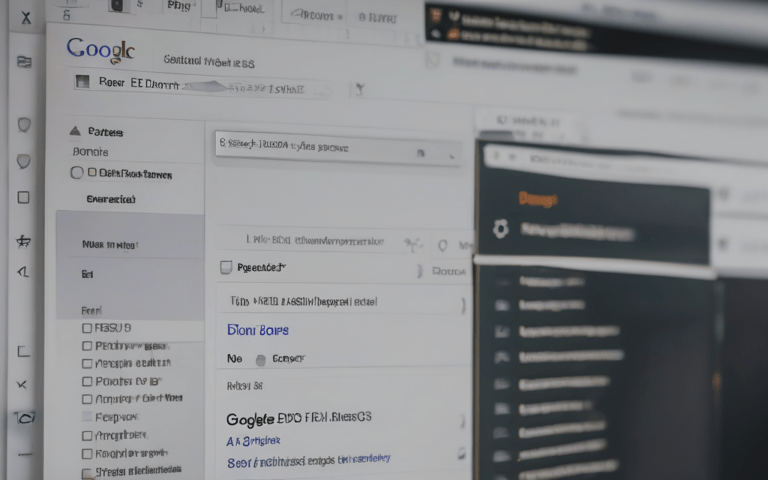
- Open Gmail, click the gear icon, and select “See all settings”.
- Navigate to the “Accounts and Import” tab.
- Under “Send mail as”, click “Add another email address”.
- Enter the name and the alternate address you wish to use.
- Choose whether to treat it as an alias (recommended) and click “Next Step”.
- Enter the SMTP server details (Gmail’s server works for other Gmail addresses; for custom domains use your provider’s credentials).
- Click “Add Account” and verify the address by clicking the link in the confirmation email.
Once verified, the new address appears in the “From” dropdown when you compose a message.
Sending Mail from Your Alias
When you compose a new email, click the “From” field to reveal a list of all verified send‑as addresses. Select the alias you want, and Gmail will automatically use the corresponding SMTP server to send the message. If you frequently use a particular alias, you can set it as the default in Settings → “Accounts and Import”.
To keep replies consistent, enable “Reply from the same address the message was sent to” (found under the same tab). This ensures that if a recipient replies to an alias, your reply will automatically use that same alias, preserving the illusion of a distinct mailbox.
Best Practices and Common Pitfalls
To get the most out of Gmail aliases, follow these guidelines:
- Use filters early – Create a filter that automatically labels, archives, or forwards messages based on the plus‑tag you chose.
- Limit the number of send‑as accounts – Gmail caps the total at 5 – 10; plan your aliases around distinct roles (e.g., support, sales, personal).
- Watch out for SPF/DKIM failures – When using a custom domain, ensure its DNS records are correctly configured; otherwise, recipients may see your mail marked as spam.
- Avoid publicizing plus‑addresses – Some websites strip the plus part, causing delivery failures; test each service before relying on it.
- Regularly review unused aliases – Delete or deactivate those that no longer serve a purpose to keep your account tidy.
By treating each alias as a purposeful channel rather than a random experiment, you maintain both organization and deliverability.
Conclusion
Gmail aliases transform a single inbox into a versatile communication hub, letting you generate extra addresses, filter mail automatically, and send messages that appear to originate from distinct identities—all without the overhead of managing multiple accounts. Whether you opt for the effortless plus‑addressing or the more customizable send‑as setup, the steps outlined above empower you to protect your primary address, streamline workflows, and present a professional front to clients and collaborators. Remember to pair each alias with targeted filters, verify SMTP settings for custom domains, and regularly prune unused addresses. By applying these best practices, you’ll enjoy a cleaner inbox, reduced spam exposure, and a polished email presence that scales with your personal and business needs.